How to use Airtable for content audits, part 2

In part 1, we established that Airtable is a super useful tool for handling content audits. Now, for part 2, we’ll dive into a detailed explanation of how the Airtable content audit template is set up.
This tutorial assumes:
- You do have a basic understanding of what a content audit is (if you don’t, consider taking a brief detour to this article)
- You don’t have a basic understanding of how to work in Airtable (if you do, you can probably skim or skip this)
PART 1: Getting started with Airtable
(1.1) Sign up for a free Airtable account. (A free account will get you pretty far; here’s an overview of their plans.)
(1.2) Read this one-page overview of essential terms and concepts. (Or the entire guide! It’s a quick, useful read.)
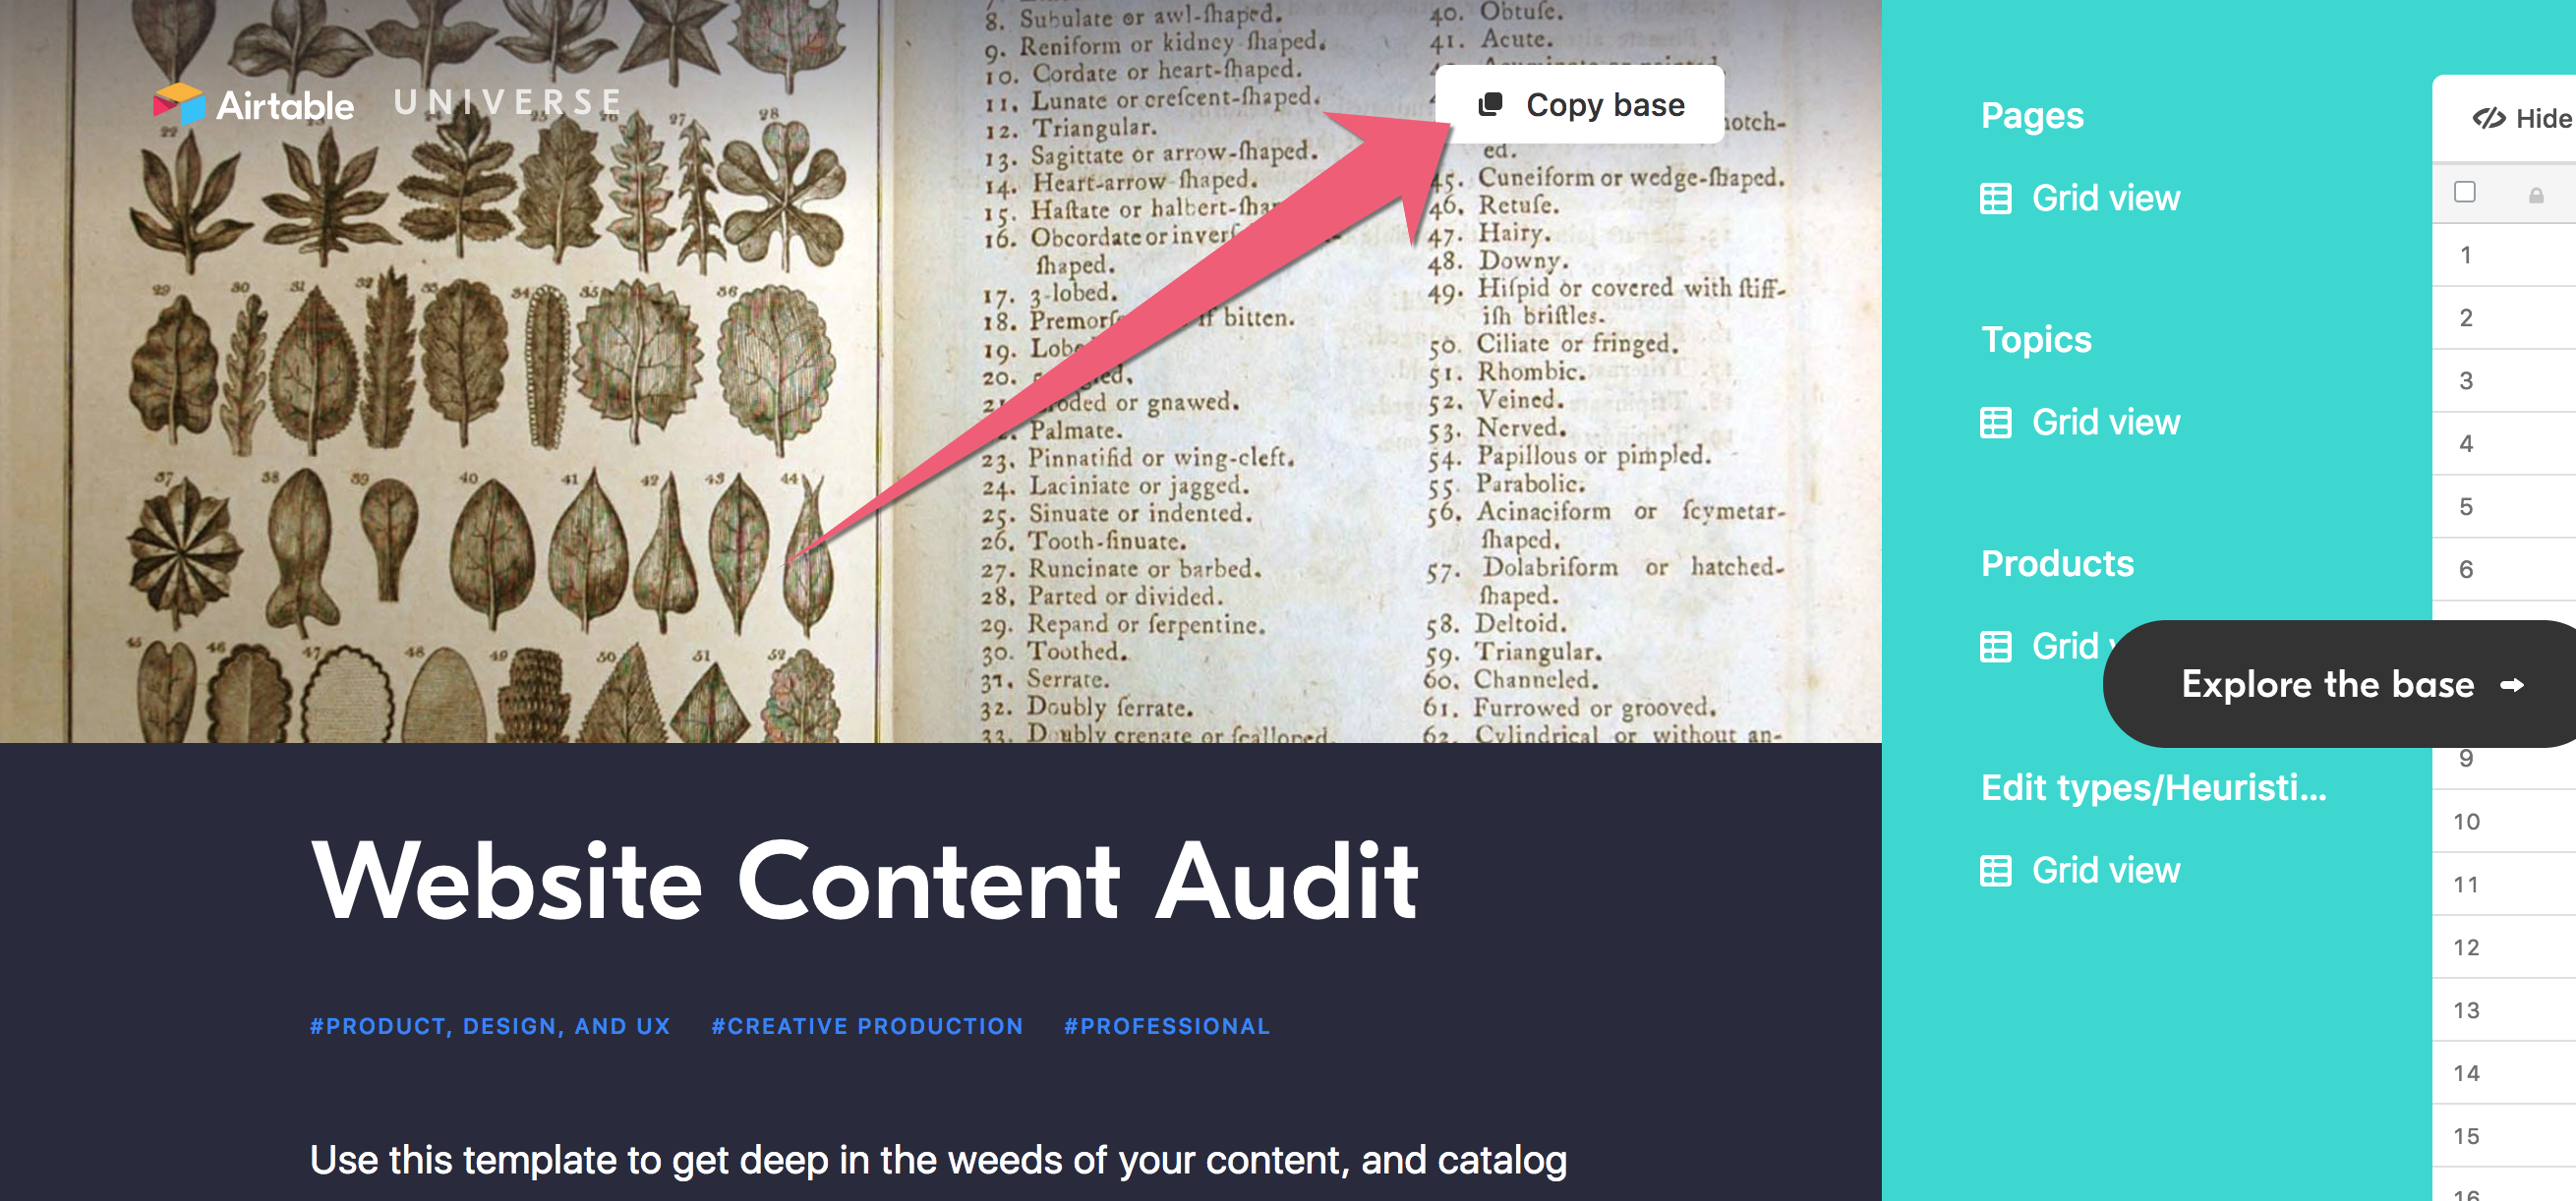
(1.3) Go to the template: Airtable content audit template.
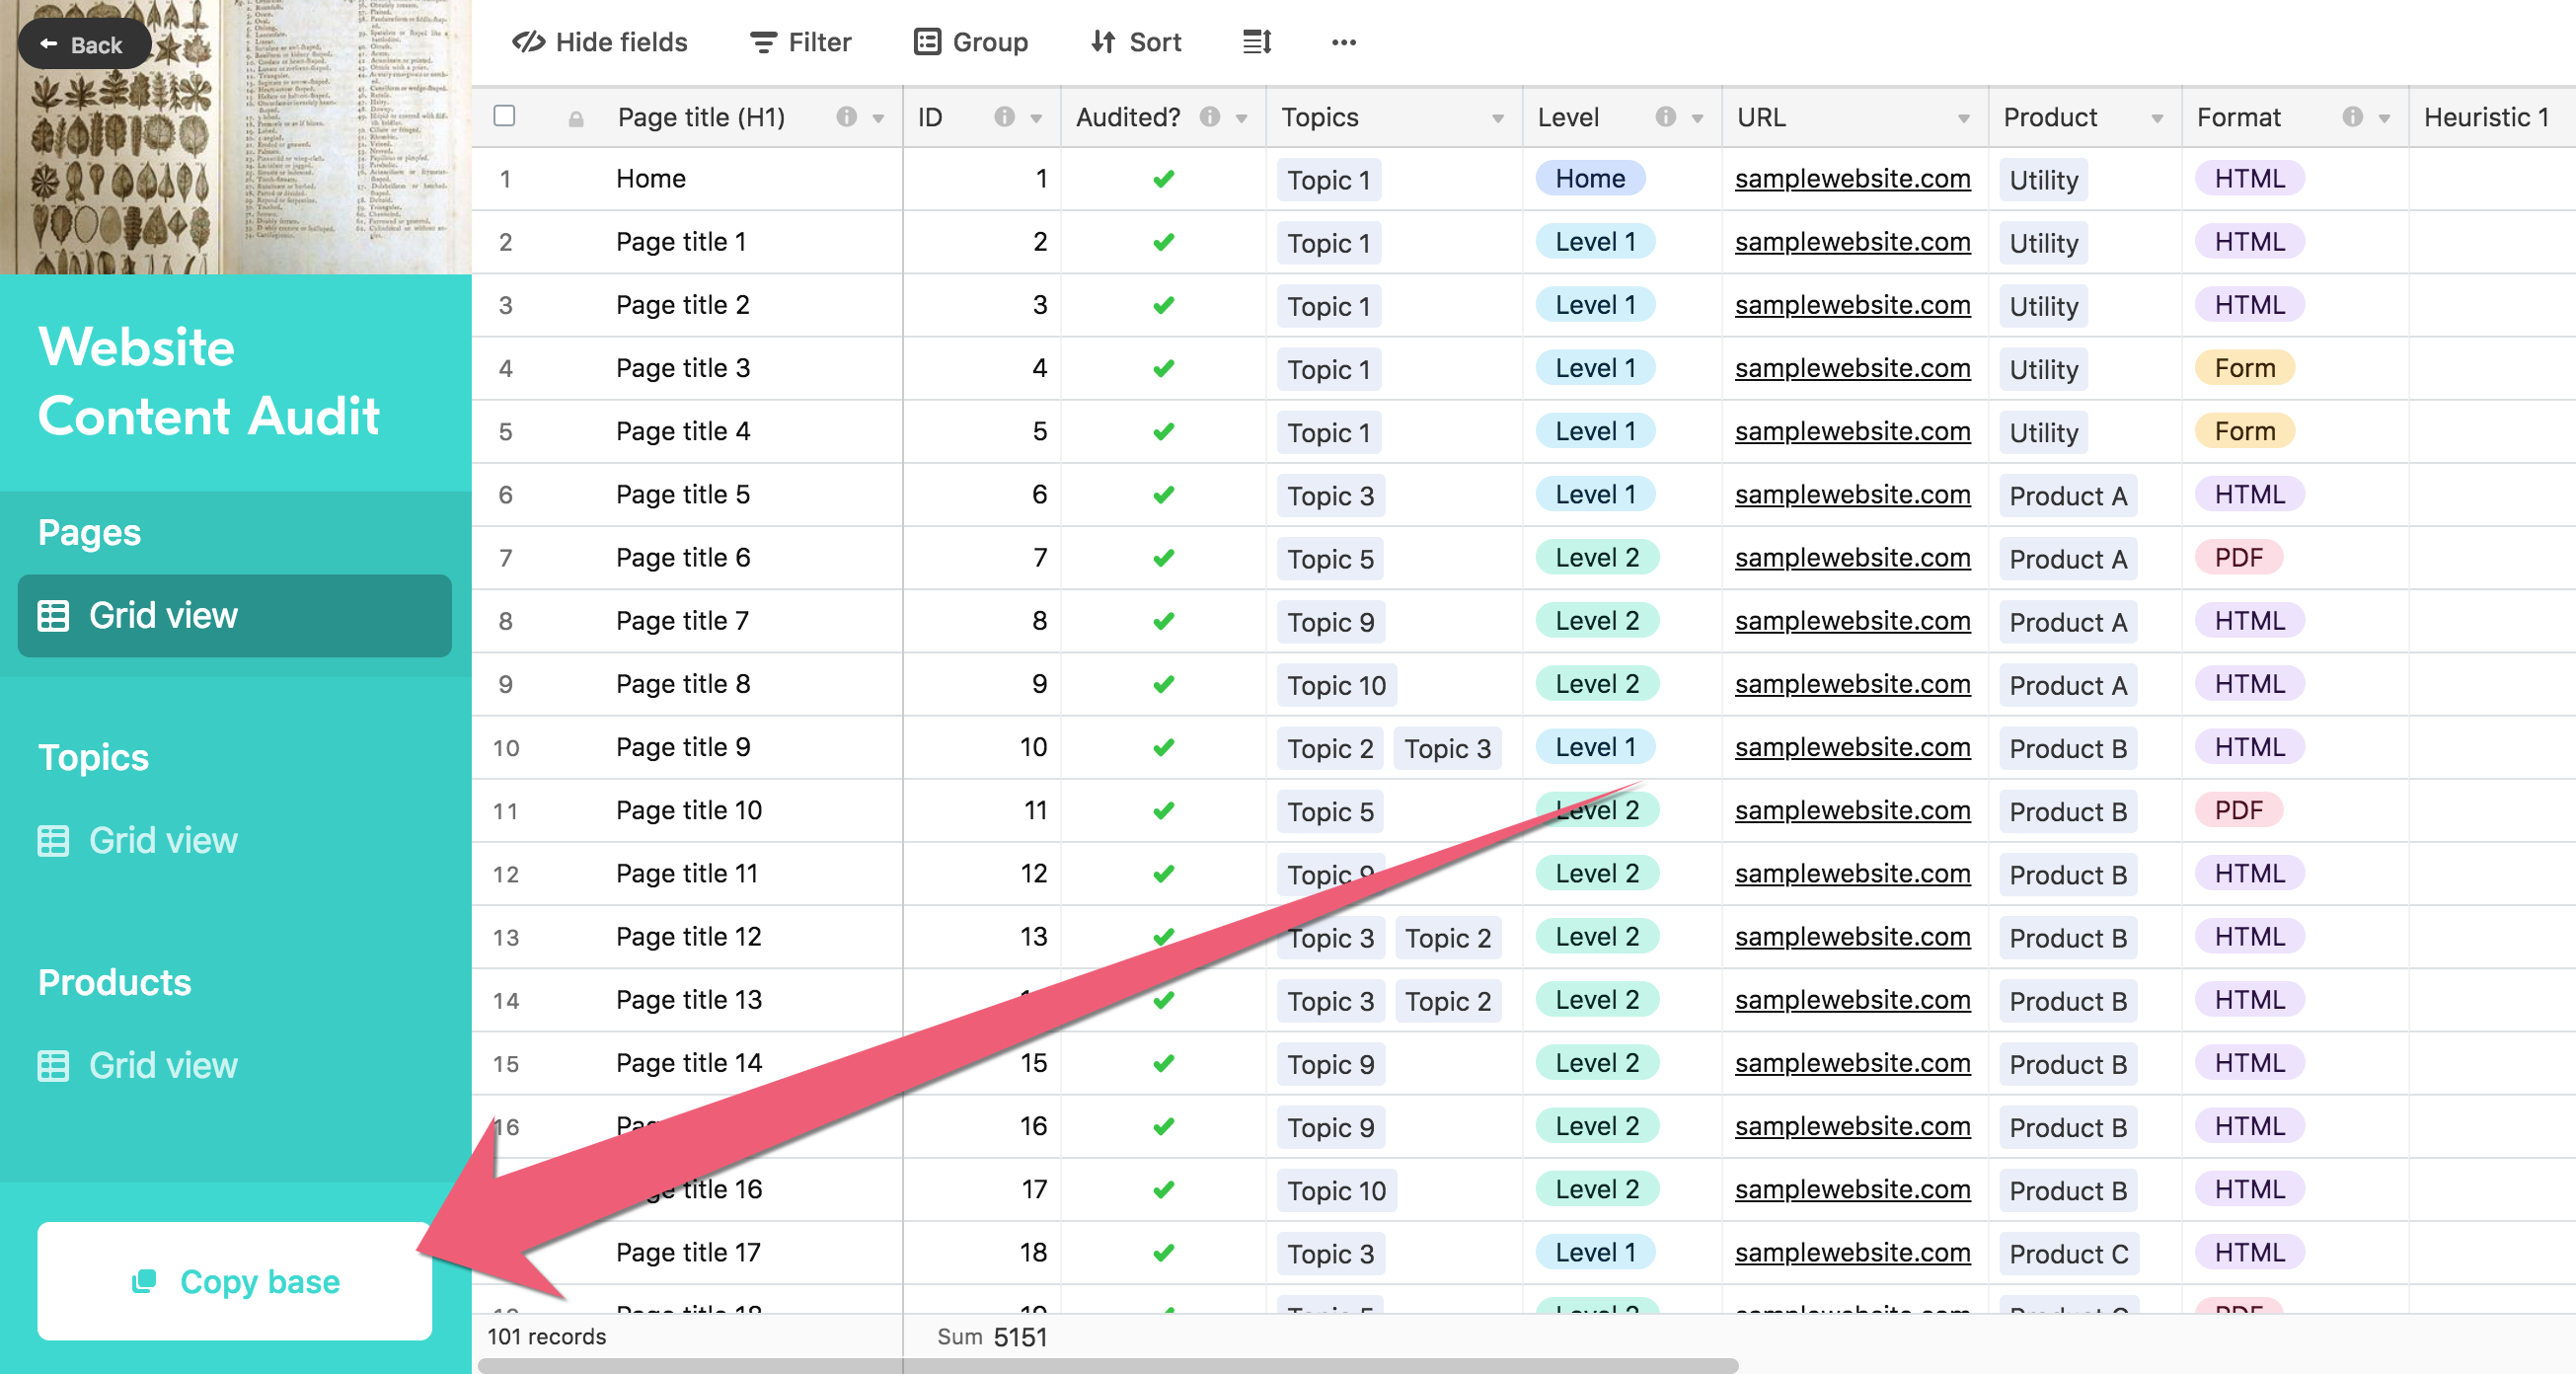
(1.4) Copy the template. Use the button on the landing page:
Or on the base itself:
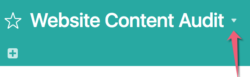
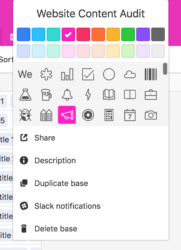
(1.5) Customize. If you’d like, change the background color and icon for your base. When you’re in the wearying final stretch of a content audit, spice things up by changing the background color every half hour. 🌈
Select the arrow next to the base name to view the options for customizing the base.
The Airtable template includes four tables, which appear as tabs up top:

We’ll walk through each of these tabs, focusing on what prep work you might need to do. Later on, we’ll cover how to draw content strategy insights from all this work.
AIRTABLE TIP: Field types
“Field” is the term Airtable uses for columns—though I’ll still refer to them as columns. One thing that differentiates Airtable from conventional spreadsheets is “field types”; you can basically choose specific formatting for each column. Learn more about field types.
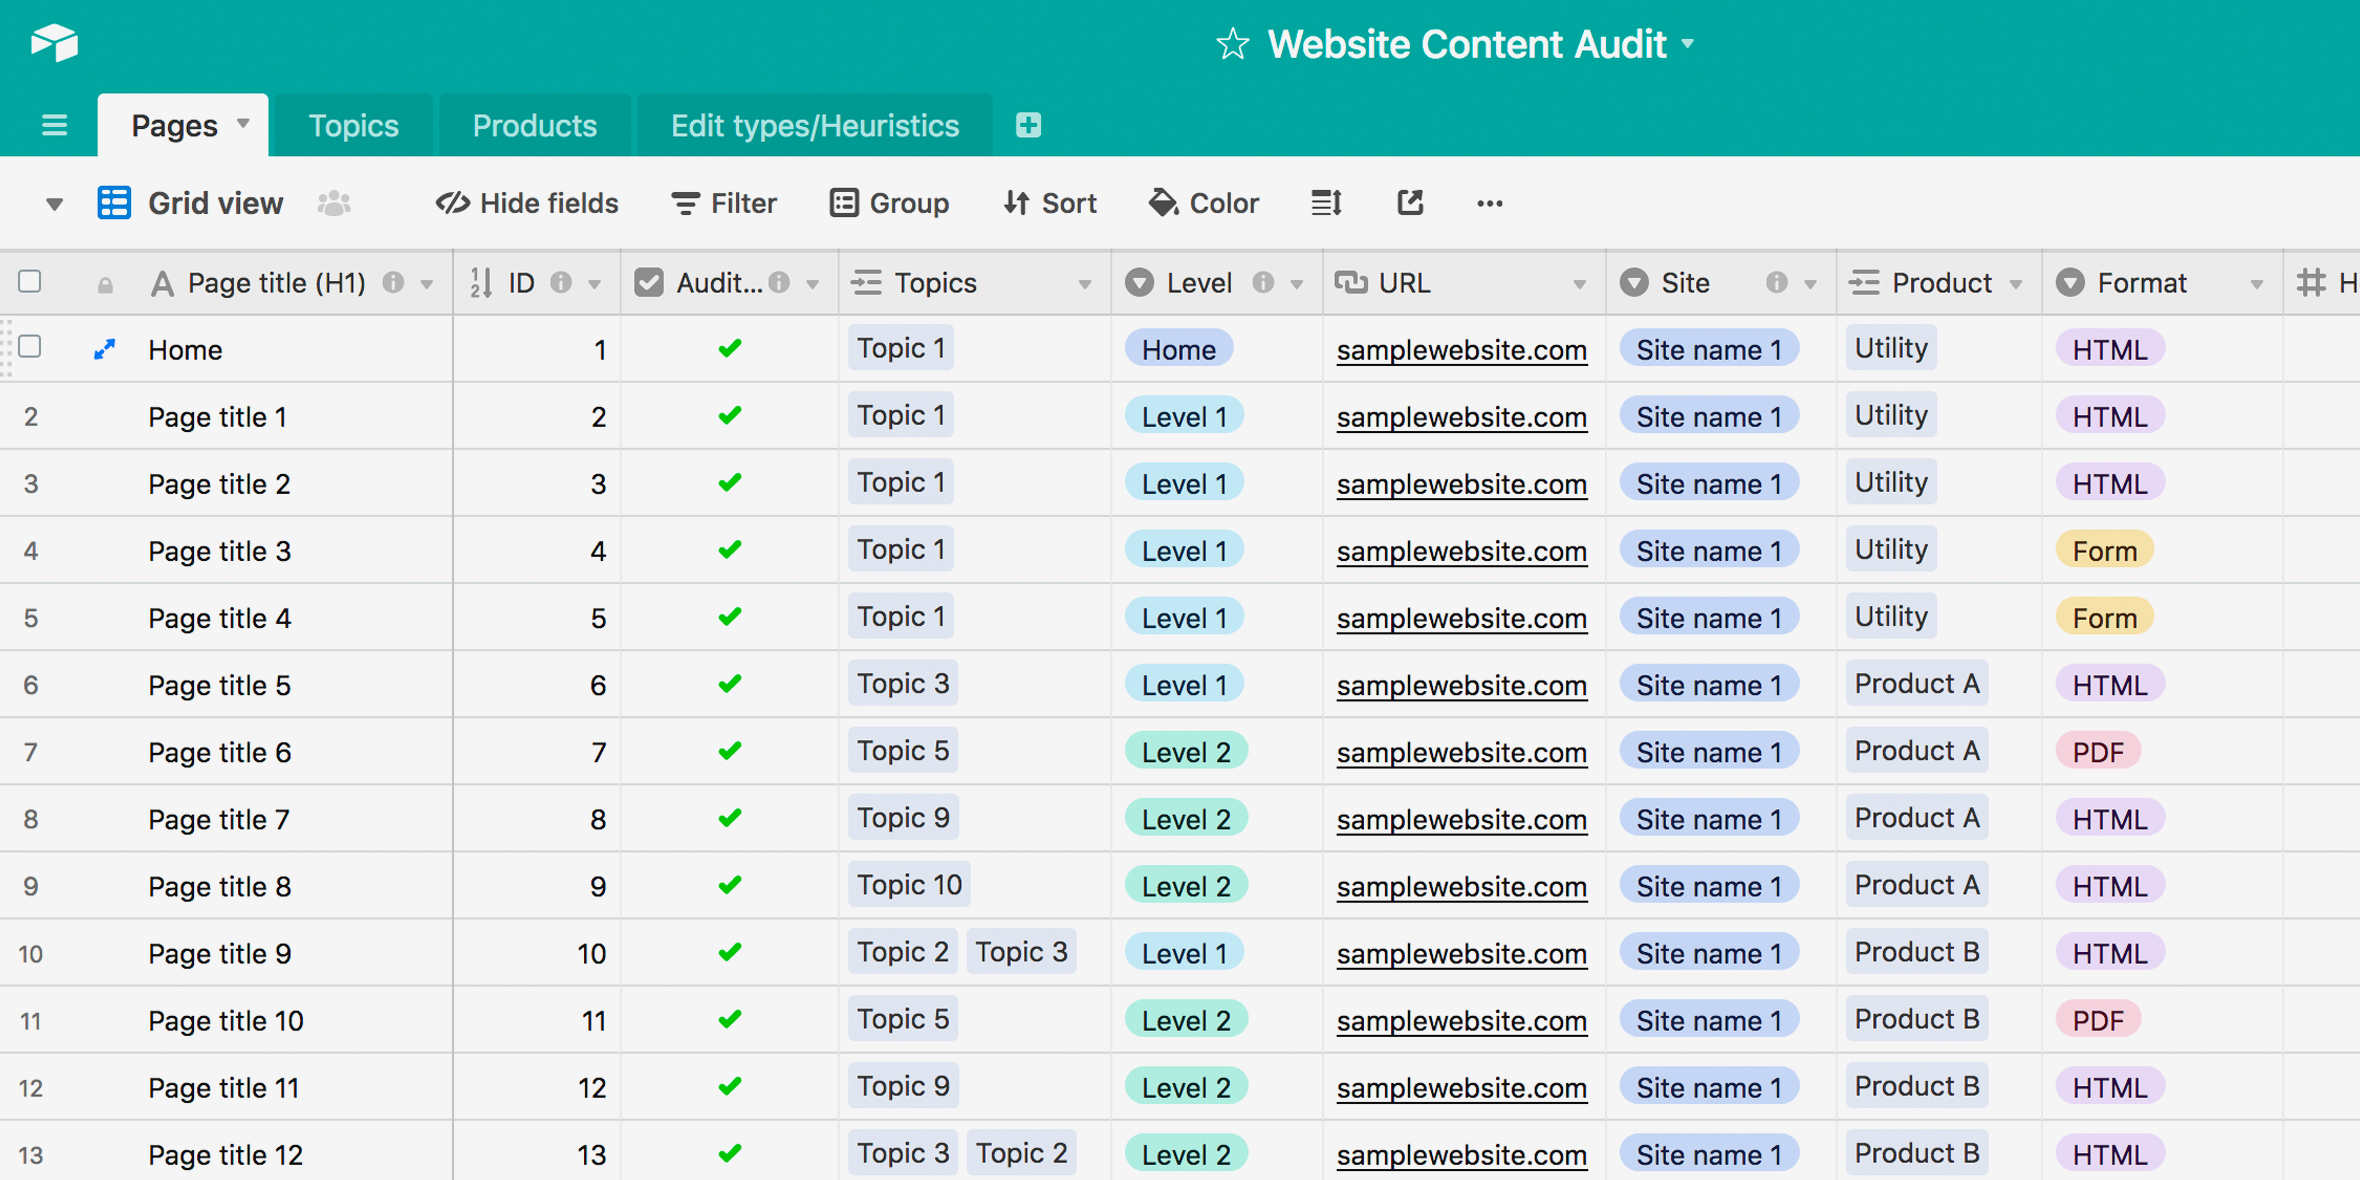
PART 2: Setting up the Pages table
This table is home to the information you’d typically expect from a content audit spreadsheet, with the benefit of being able to cross-connect information (an idea which will get more concrete as we go along).
Let’s go column-by-column:
(2.1) Page title (H1) column: Scrape the H1s, URLs, and any other metadata you want to include using a service like XML Sitemaps (free), Screaming Frog, or ContentWRX Audit. You know, the usual content audit stuff. Use the H1s to populate this first column.
(2.2) ID: This is a unique ID that stays with the record (row) even if you move it. The template uses “Page title 1” etc. so the ID number is kind of awkward, but in real life it’s useful, especially if you move pages around.
(2.3) Audited?: This simply helps you track whether you’ve finished auditing the page. The checkbox option is pretty satisfying, but if you’re auditing only a sample of pages, you could alternatively use the “single select” field type with options like “Audited,” “Not yet audited,” and “Don’t audit.”
(2.4) Topics: This column is linked to the Topics table. We’ll get back to it!
(2.5) Level: This is the level within the site hierarchy. For example, the parent or landing page would be Level 1, and the child or detail page would be Level 2. (I usually note the home page as Level 0.) You can note the level as you navigate through the site during your audit. (Unless your CMS is smart enough to spit out this particular data, in which case, please tell me more.)
(2.6) URL: Paste this in when you paste in H1s.
(2.7) Site: Use this field if you’re auditing pages across multiple domains, for example, “[Company name] consumer site” and “[Company name] business site”. This column uses the “single select” field type, with each site name as an option.
(2.8) Product: This column is linked to the Products table. We’ll get back to it!
(2.9) Format: HTML, PDF, or other file type? Note it down here. Ideally, this is data you would have scraped along with H1s and such, but you could populate it as you go along. If you like the color-coded look, you can paste in the data, then customize the field type to “single select,” and it will convert it automatically.
With me so far? On to the next table!
PART 3: Setting up the Topics table
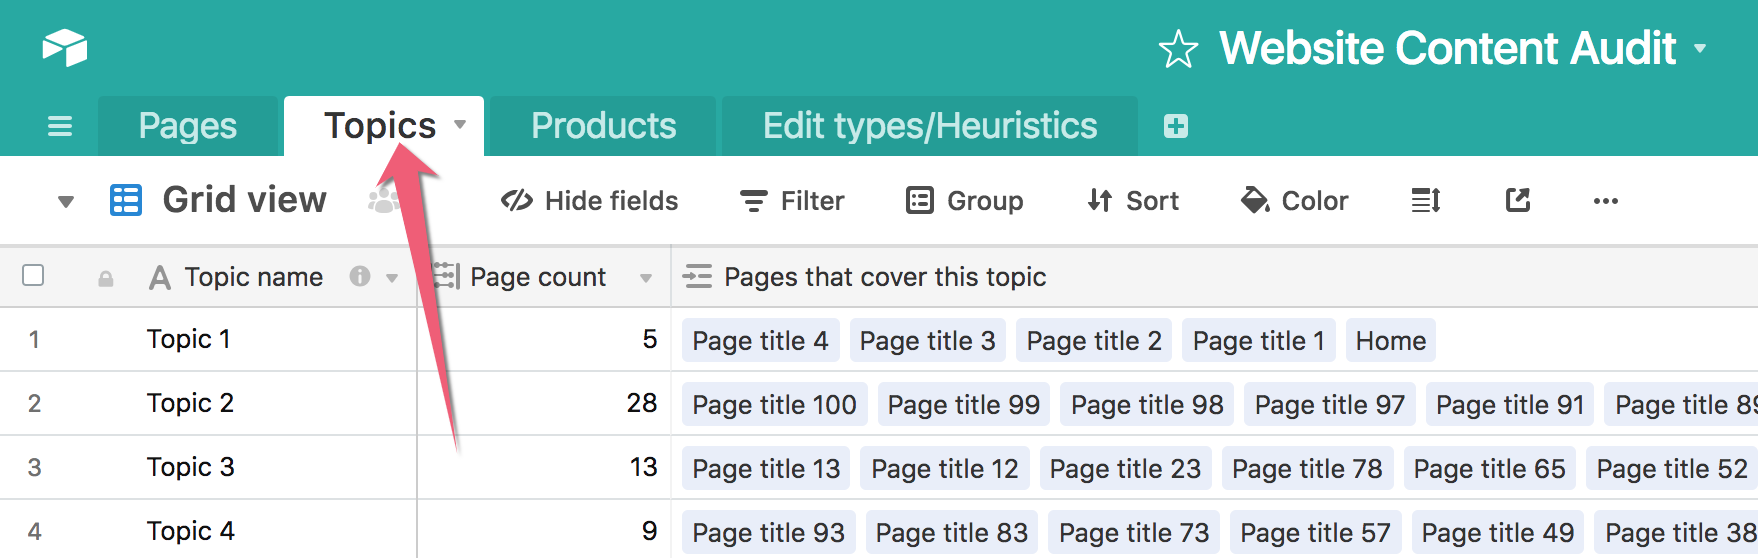
(3.1) Start a list of topics you think your content currently covers. (Or, if your site has an existing taxonomy, start with that.) Add topics that you know from research would be valuable to users. This list will go in the first column of the Topics table.
PART 4: Setting up the Products table
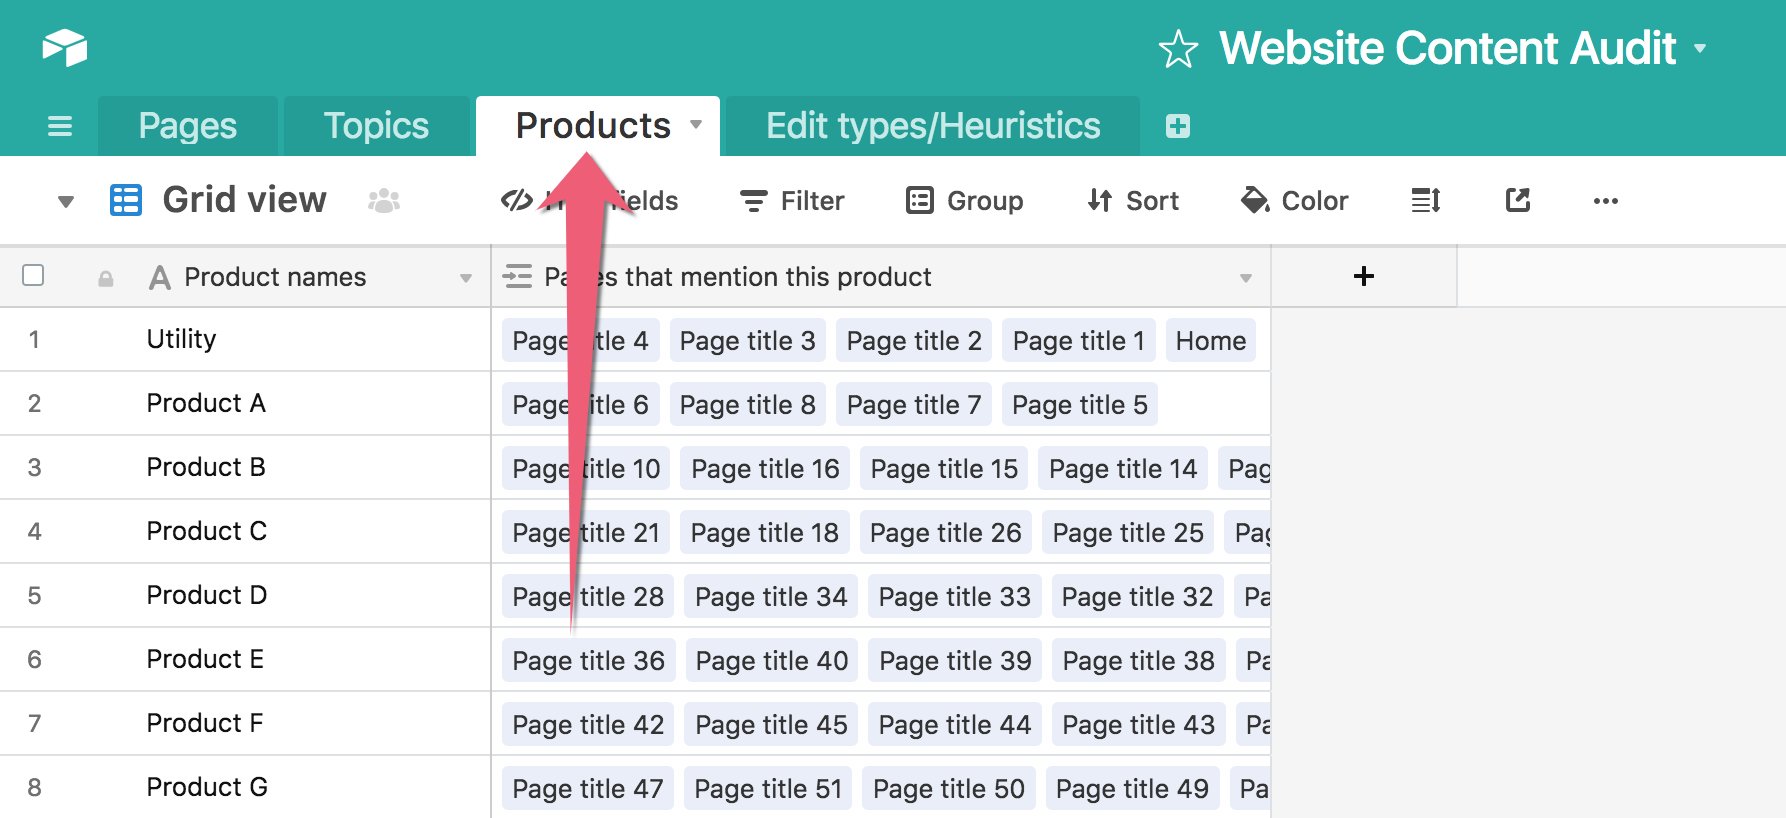
Using the Products table is totally optional. This is just to show that you could use the structure of the Topics table to inventory just about any other content attribute:
- In the case of this template, product names; or offerings or departments
- Page type (e.g. blog post, event listing, etc.)
- Component type (e.g. banner, tooltip, etc.)
PART 5: Setting up the Edit types/Heuristics table
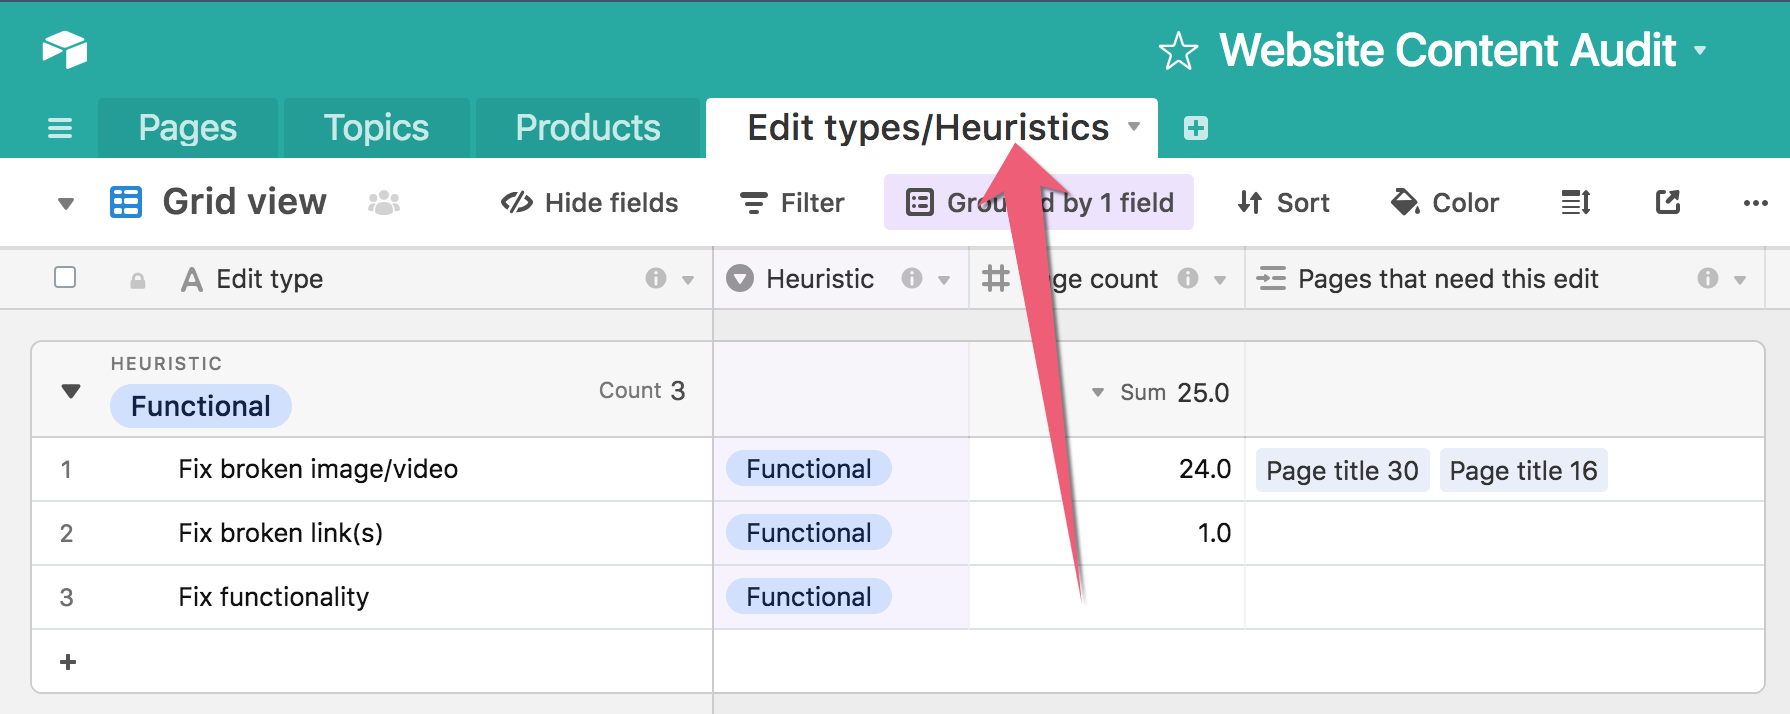
(5.1) Decide on heuristics. The whole point of a content audit is to assess the quality of your content. There are a handful of heuristics (or criteria) that are pretty standard for assessing web content, such as readability, clarity, and accessibility. (The heuristics in the template are drawn from the work of Abby Covert, Ahava Leibtag, Meghan Casey, and GatherContent.) You can choose which heuristics are most important for your project. Each heuristic will be a “single select” option for the second column in the Topics table. The table is grouped by that column.
AIRTABLE TIP: Grouping
The Topics table is grouped by the Heuristics field. One nice thing about Airtable is that when you group or sort the table, the data in a row will always stay together (or is it just me who gets anxious about mixing up data when I sort a spreadsheet?). Grouping items in a table is a nice way to make the data skimmable; you can also expand and contract each group to focus on one thing at a time. Learn more about grouping.
(5.2) Decide on edit types. Within each heuristic, I’ve provided some suggested edit types that serve as a kind of checklist for each heuristic. By edit types, here’s what I mean: “For this particular heuristic, does this page need any of these edits?” For example, “I’m going to rate this page on the heuristic of readability. Let’s run through the checklist: Does it need bullets, bolded keywords, and subheads? Does it need active voice? Does it need simpler/clearer words? Does it need simpler/shorter sentences?” The checklist approach makes assessments more concrete and consistent. We’ll cover more of this later.
PART 6: Conducting the actual content audit
The time has come for the auditing of content. Head back over to the Pages table!
(6.1) Rows! So far, we’ve focused on how to set up the columns for all the tables. Now we’re going to look at a single row, which represents the record for a single page.
(6.2) Row 3, for example: Let’s look at row 3 on the Pages table. Several of the columns should already be populated: H1, ID, URL, Site, and Format. Skip over the “Audited?” column for now, obviously.
(6.3) Topics: This is our first chance to start cross-connecting information. 🔗 In the template, this column is linked to the Topics table. Basically, it allows you to pull from items in the Topics table and apply them as tags for items in the Pages table. And when you do that, the connection will show up over on the Topics table as well. So, still using row 3 as an example: “It looks like ‘Page title 2’ is all about ‘Topic 1’ so that’s what I’m going to select.” When you do that, the inverse will happen over on the Topics table: In the row for “Topic 1,” the column that is linked to the Pages table will show “Page title 2” as a selection.
AIRTABLE TIP: Adding an item to a linked record
Let’s say you’re working within the Pages table, and discover a new topic. You could jump over to the Topics table and add a new row. But it’s easier to stay on the Pages table and add it from there:
First, in the Topics column, click the + icon:

Then click “Add new record”:
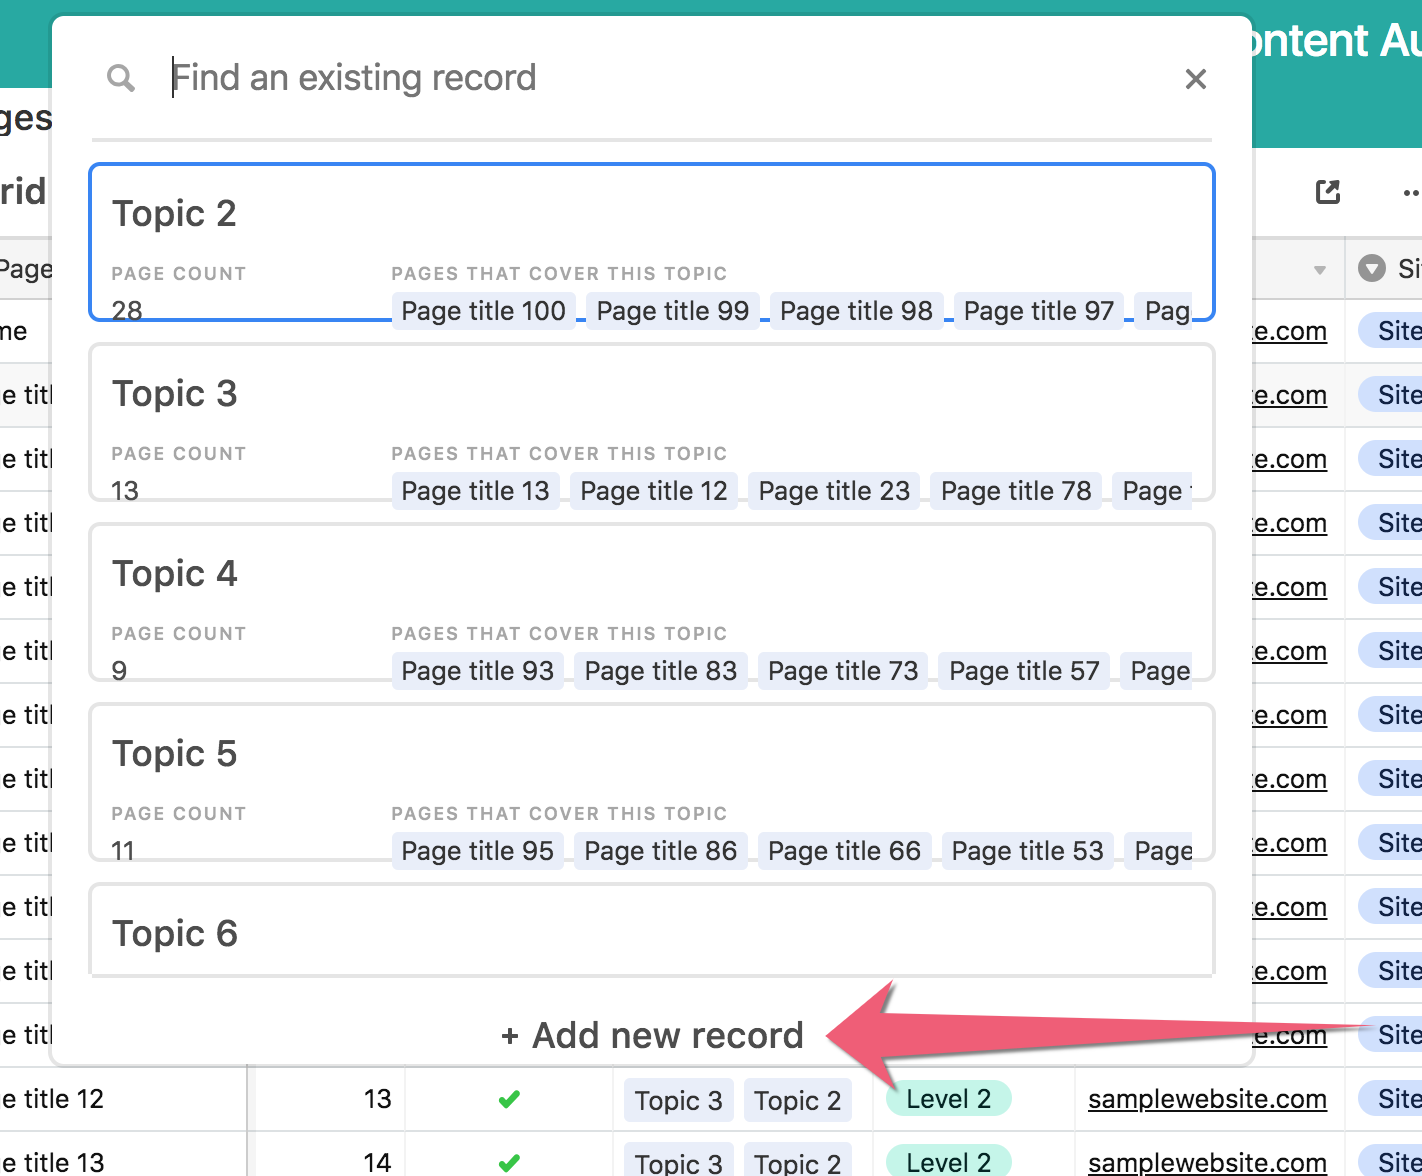
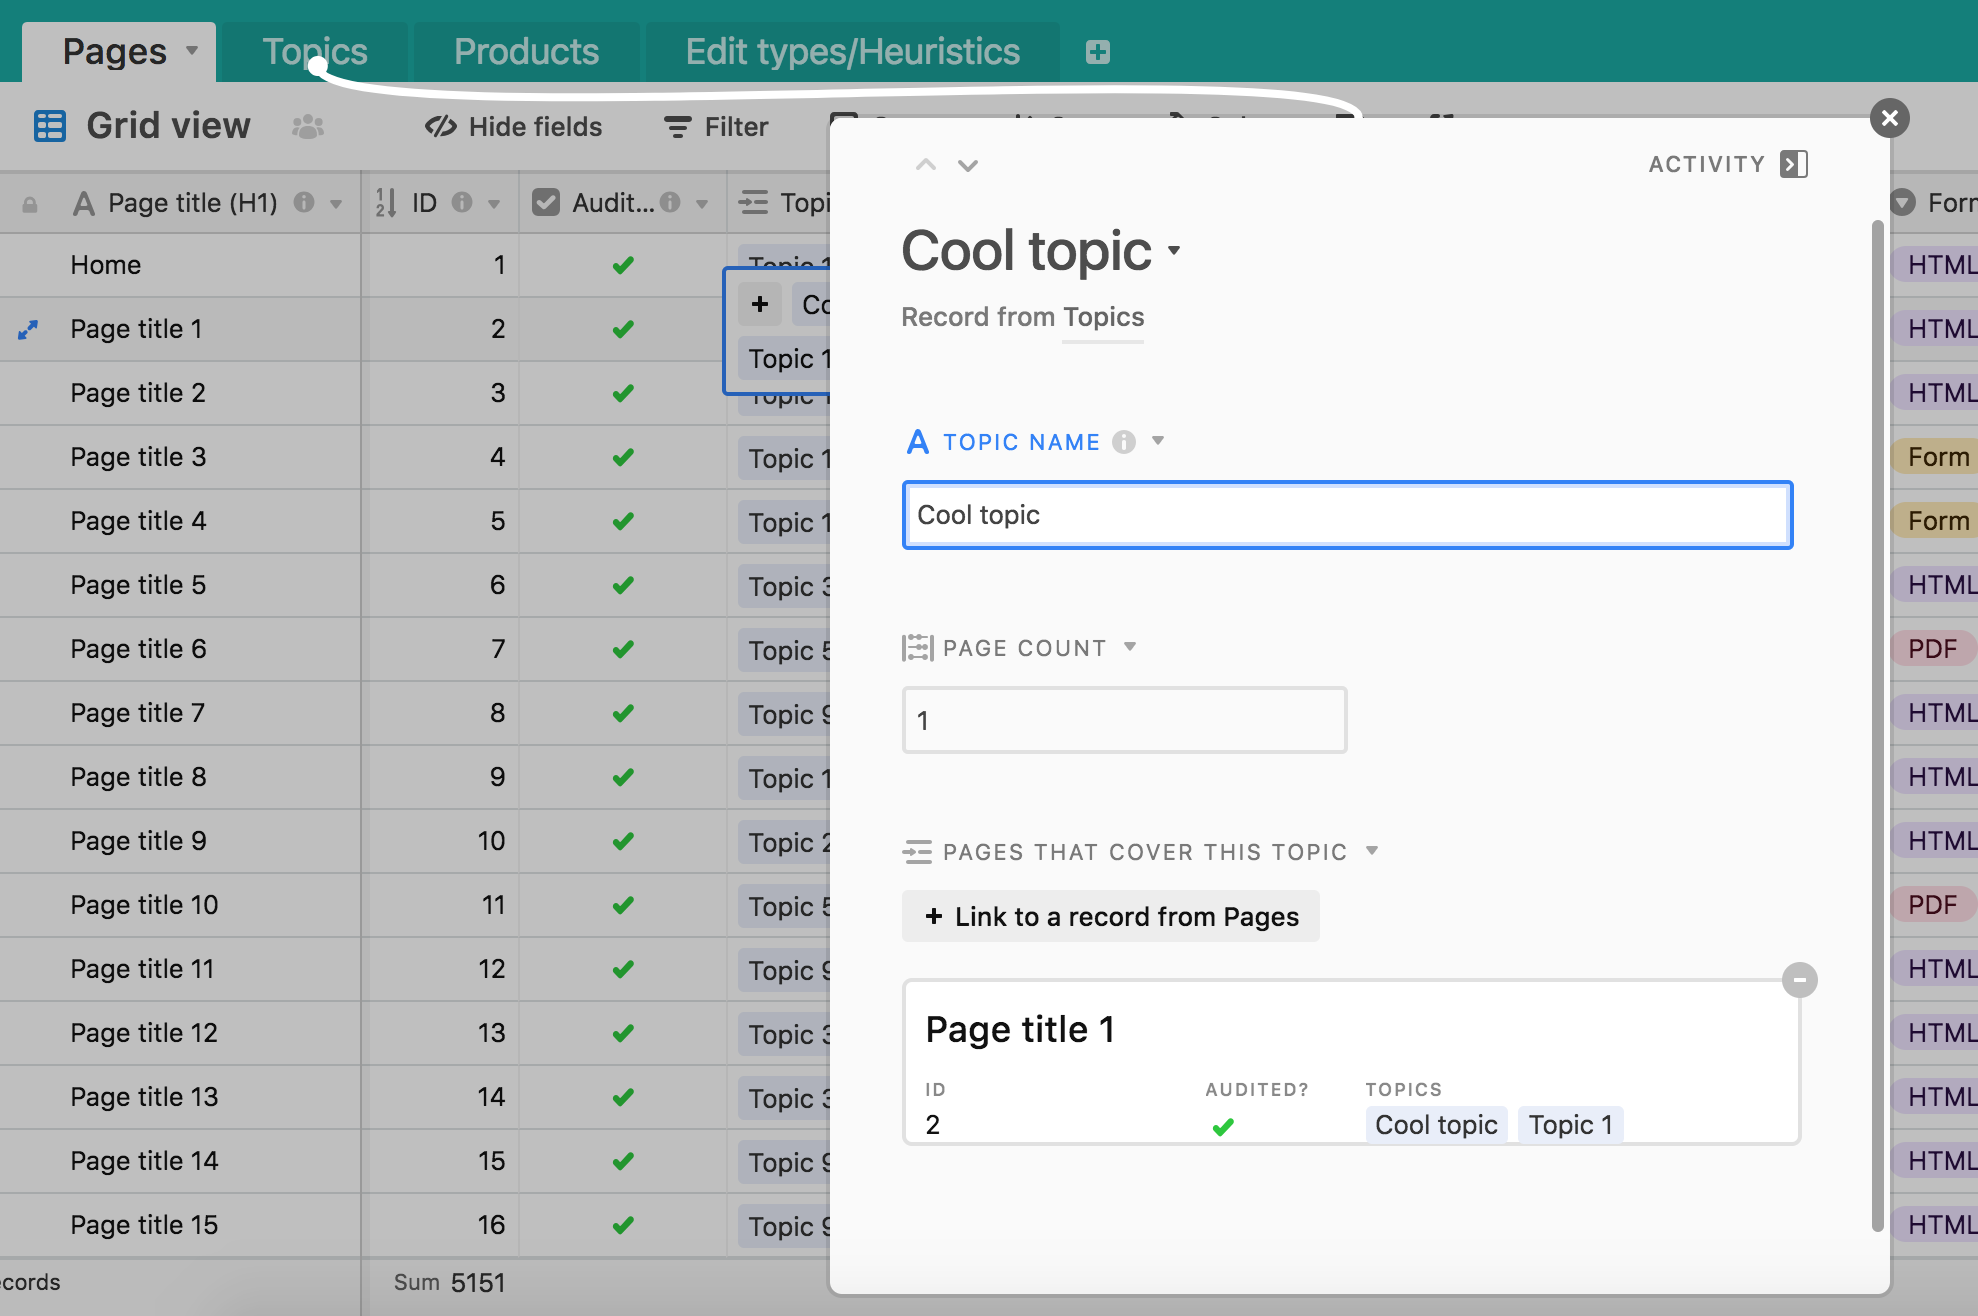
Then a modal will pop up with a blank text field. Enter the topic you’d like to add. Whenever you’re done, just close out of the modal and the item will be saved as a tag for the item in the Pages table, and as a new row in the Topics table.
Linked records = the keystone of Airtable awesomeness. Learn more about linked records.
(6.4) Level: As you navigate the site, you can use this column to note the hierarchy of pages.
(6.5) Product: This column is linked to the Products table. Making a selection here works the same way as it did with Topics.
(6.6) Heuristics: There are columns for three heuristics; you can choose more or less than three heuristics to assess. In these columns, you can record a number rating (I use a 3-point scale, which I’ve found forces me to be more decisive than a 5-point scale.) There is also a column that provides an average rating of those three. (Empty cells say “NaN,” which I can’t figure out how to get rid of; sorry.) Alternatively, you could just give each page one overall score. If you’re doing that, you could use the “rating” field type, which uses stars, which is kinda fun. ⭐
(6.7) Edits recommended: This column is linked to the Edit types/Heuristics table. Just refer to the full list of edit types, and if you see any that are needed, tag them here.
(6.8) Notes: Needs improvement: This column is for noting additional details about the edits recommended, or anything not already covered.
(6.9) Notes: Working well: Finally, positivity! It may sound a bit pessimistic to start out with looking for what’s wrong, but you can also flip any of the “edit type” statements to note the positive. So, for example, one edit type is “Restructure with bullets, bolded keywords, and subheads.” When you get to the “Notes: working well” column, you could note, “Hey! This page does a great job of using bullets, bolded keywords, and subheads!”
(6.10) Audited?: When you’re done auditing a page, make sure to check it off here and enjoy the pure satisfaction.
PART 7: Connecting the dots
OK, let’s say you’ve completed your audit. Hooray! Now it’s time to use Airtable for what it does best: connecting the dots.
(7.1) Topics: First, let’s stop over by the Topics table. Let’s look at the row 1, “Topic 1,” for example. The “page count” column shows the number of pages that were tagged with that topic. “The “pages that cover this topic” column—well, that’s self-explanatory.
(7.2) Products: Second, let’s visit the Products table. Same deal here as with the Topics table—you can see precisely which pages, and how many pages, were connected to each record.
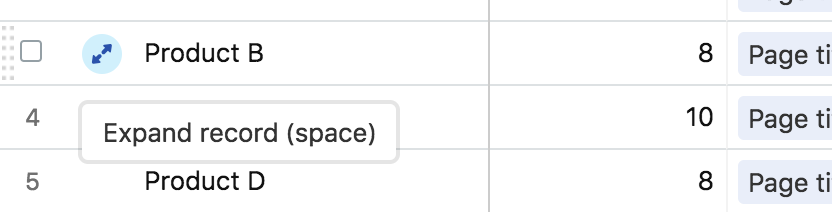
AIRTABLE TIP: Expanded records
To get to information about a specific page you’ve connected to a specific product (or topic, or anything you made a separate table for): Hover over a row in the first column, and you’ll see the “expand record” circle icon.
Click that, then you’ll see the expanded record in a modal:

If you click one of the items within it, like “Page title 6,” it will pop up an additional modal to show the details for that record:
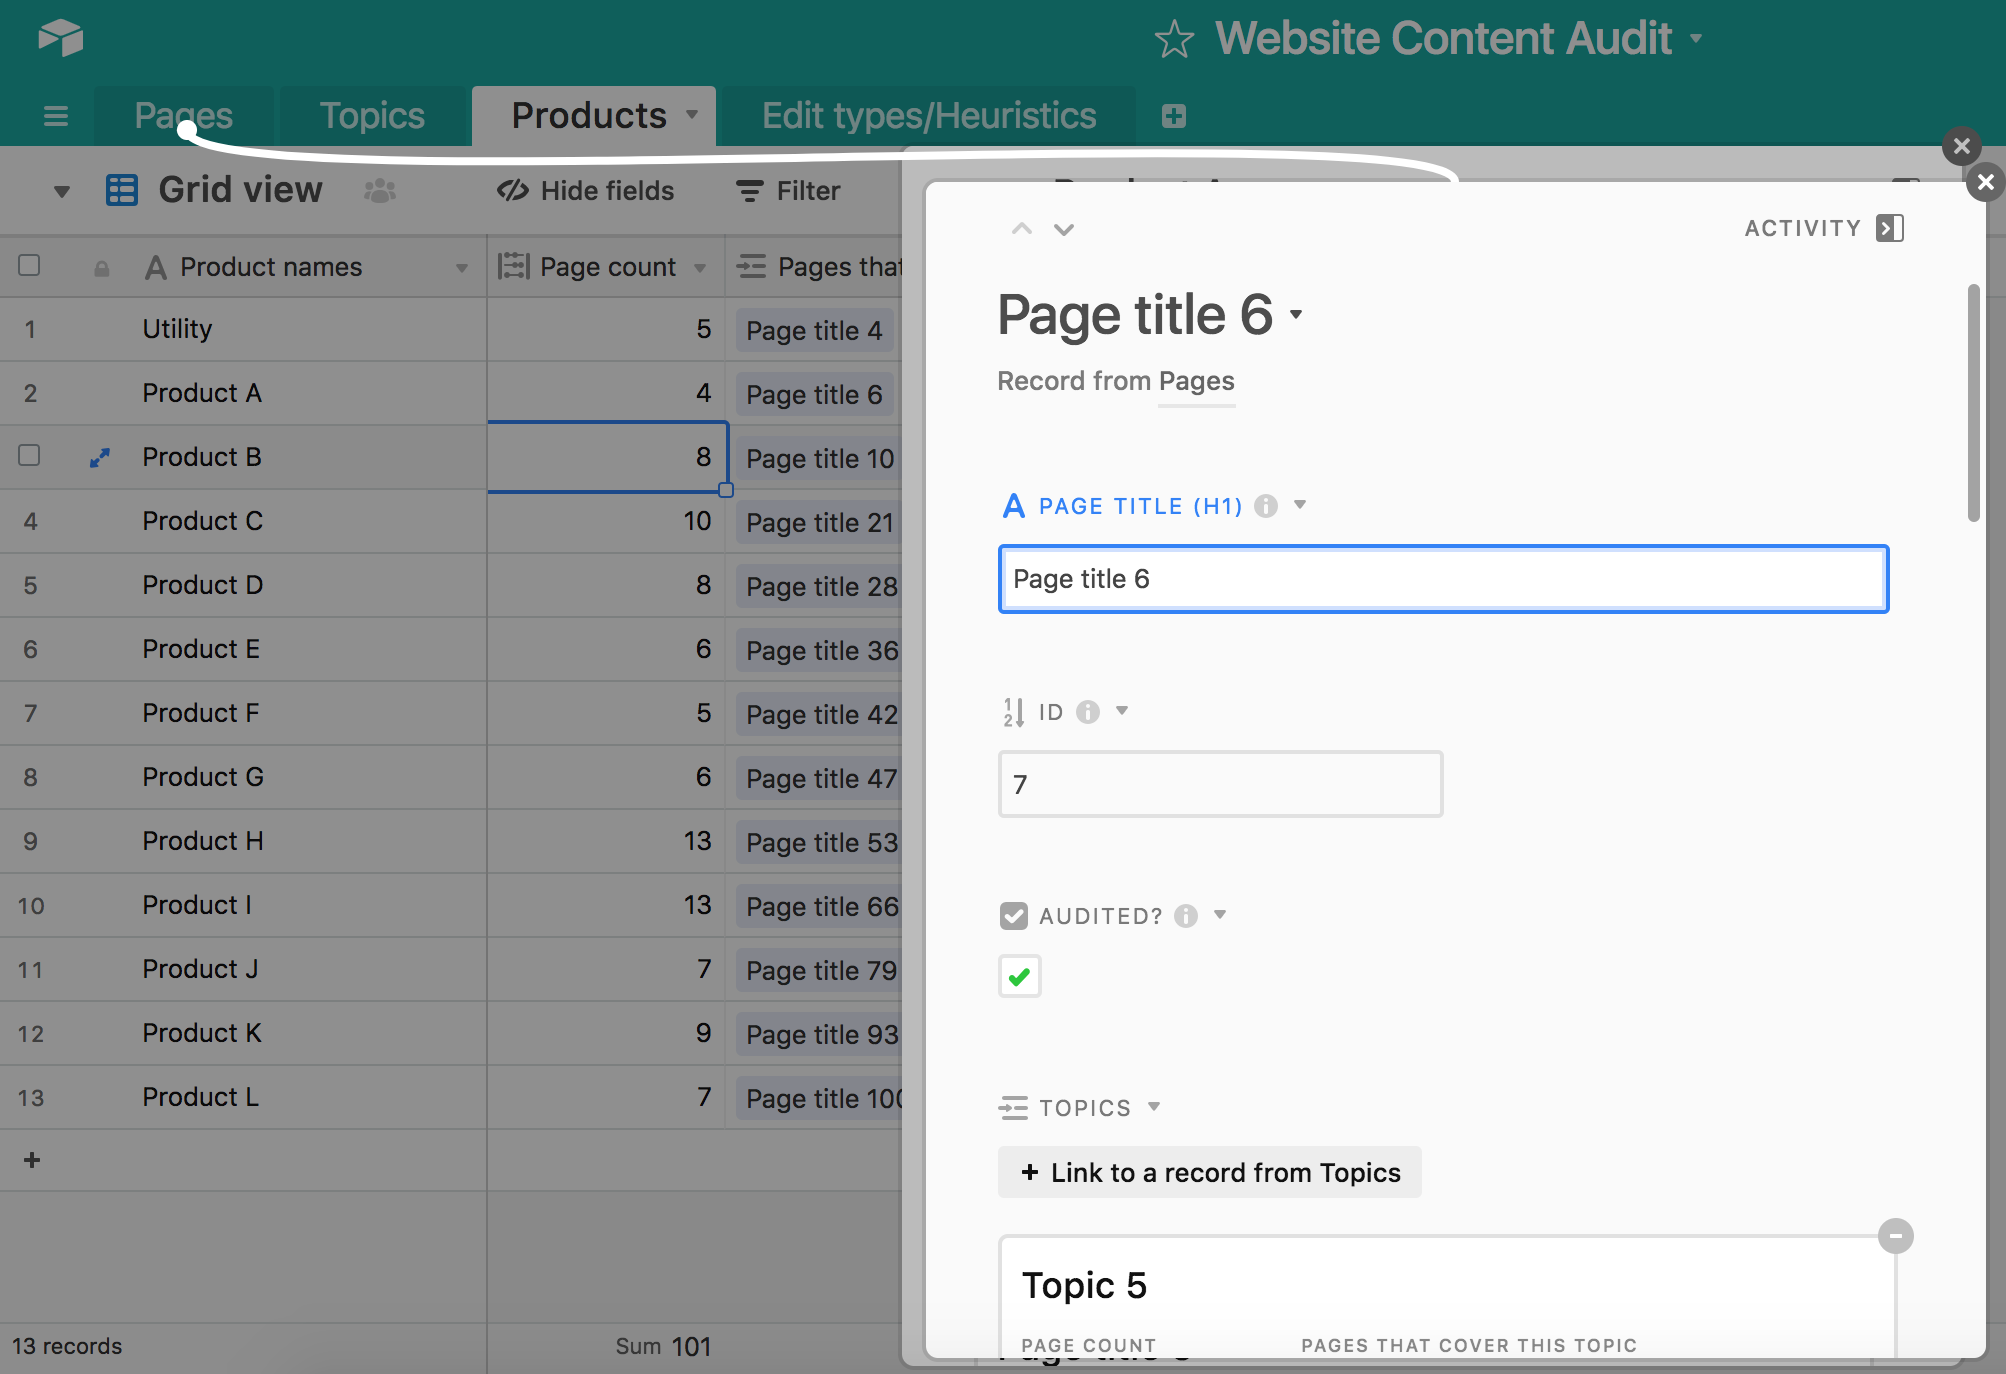
You can make edits to that record if needed, or scroll down to the URL field so you can go to the actual page.
(7.3) Edit types/Heuristics: Finally, let’s head to the Edit types/Heuristics table. Same deal here as with the Products and Topics tables—you can see precisely which pages, and how many pages, were connected to each record.
What do you think?
Let me know if you have questions—or ideas about how to make the template or tutorial better. Here are some additional Airtable tips. Comment on this post, share your own work via Airtable Universe, or join the Content + UX Slack group (try the #tools channel). And stay tuned for more posts about Airtable + content strategy!
P.S. I am not affiliated with Airtable to promote their product; I’m just a user and fan.